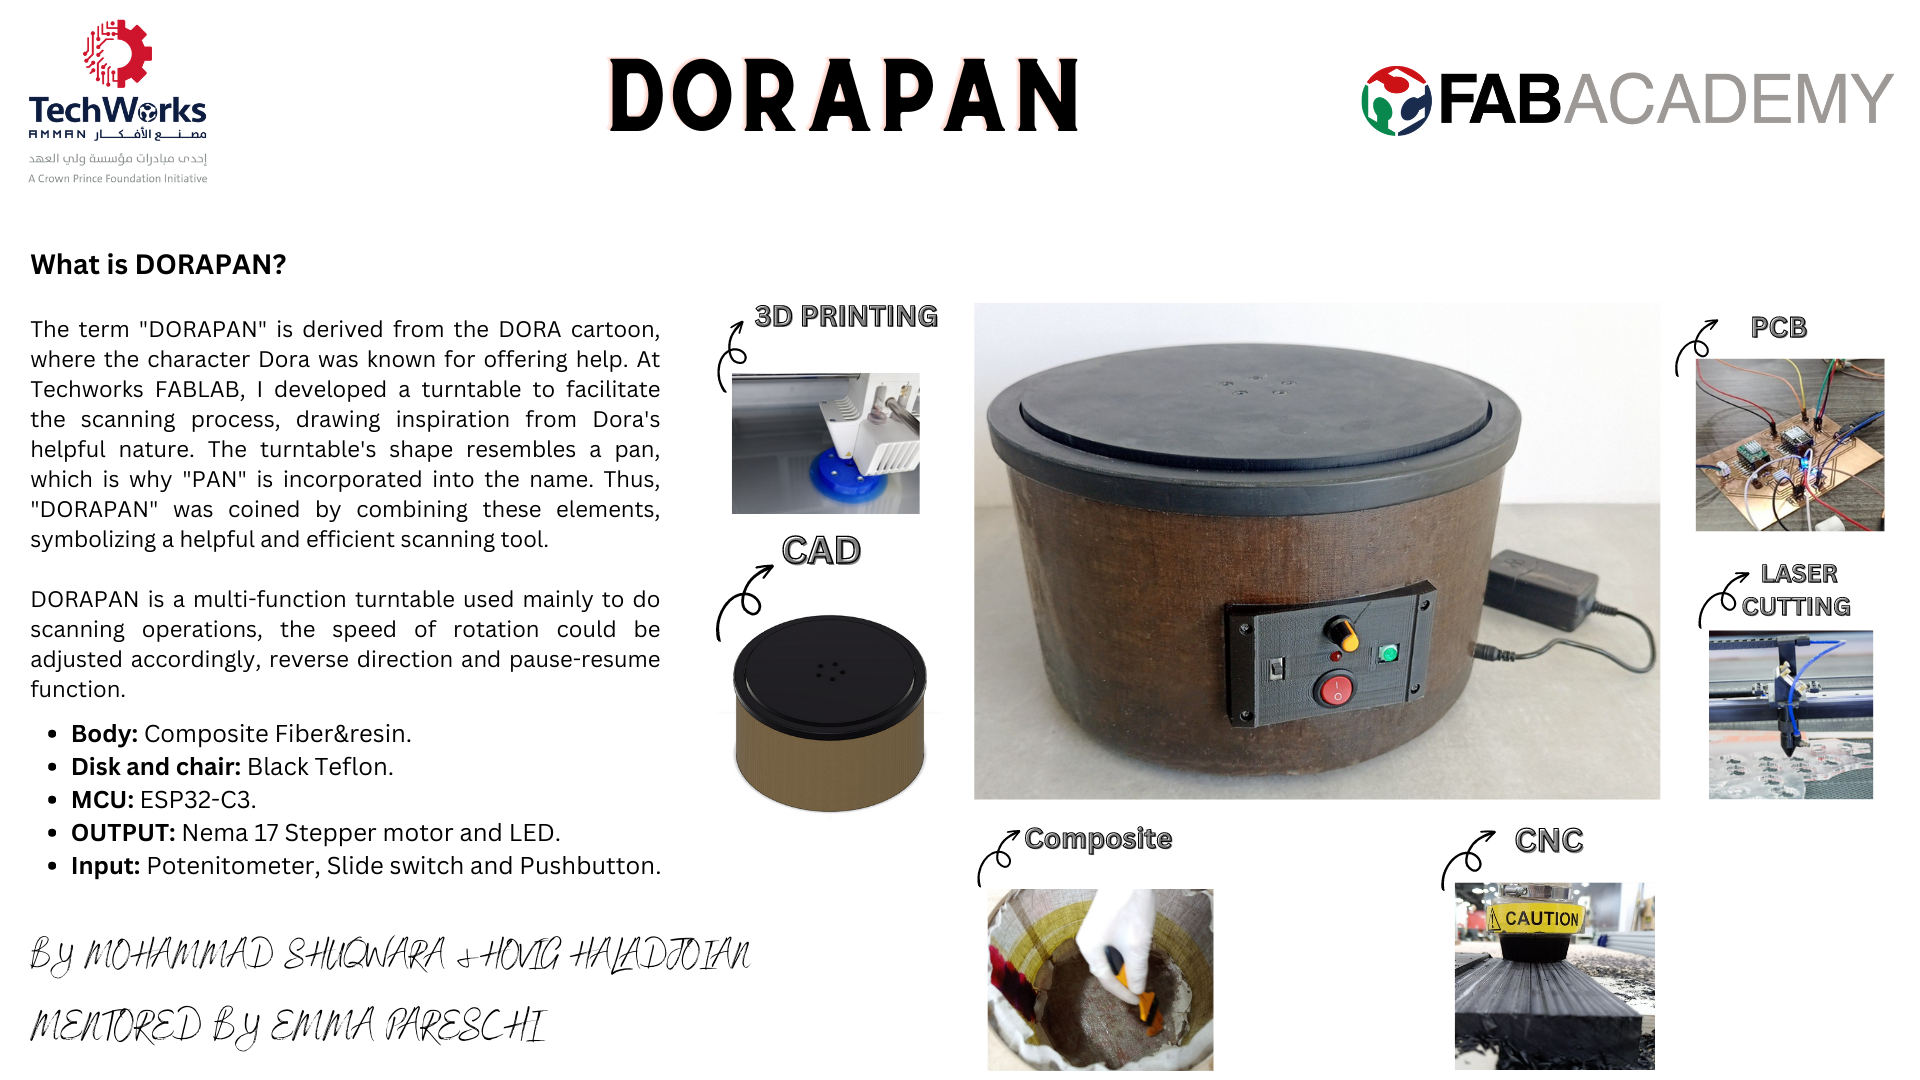
Final Project, Final Result
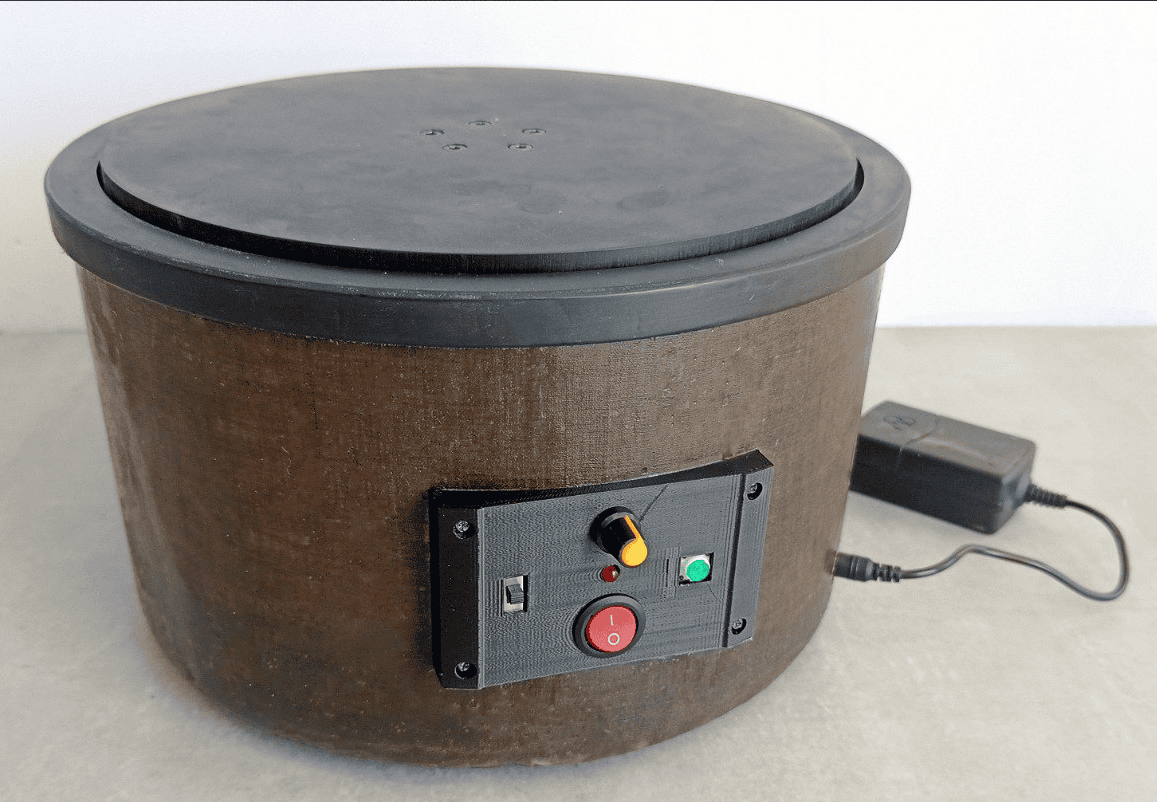
Finally, I've arrived at my destination, and I'm only a few steps away from completing the final product.
Last thing to do is to integrate all system and finalize it, so first step was to make an opening in the body for the interface housing.
2- Fix the motor inside bracket, connect the flexible coupling to the motor rod, and to connecting rod.
3- The other part is fixing the TPU flange with the desk.
4- Put the chair on the main body.
5- Put bearing balls in the chair groove.
6- Fixing electric board on the body.
So I started by making the opening first. Then, I assembled the motor with the bracket using 4 screws and nuts. Next, I attached the flexible coupling (which came with 4 allen screws) - 2 for the motor shaft and the other 2 for the connecting rod.
After that, my next step was fixing the flange with the connecting rod using 2 screws. Following that, I secured the PCB board with 3 spacers. To do this, I created 3 holes at the bottom of the body and tightened them using nuts.
Then, I made a circular opening from the side for the power jack. Once that was done, I placed the chair on the main body. I then attached the bearing balls into the groove. I initially filled it with balls but removed one so that they could rotate freely.
The last thing I did was attach the disk. The electronics opening helped me with this step. I inserted my hand inside the body and held the shaft to prevent it from tilting due to the flexible coupling. Finally, I placed the disk and secured it with screws.
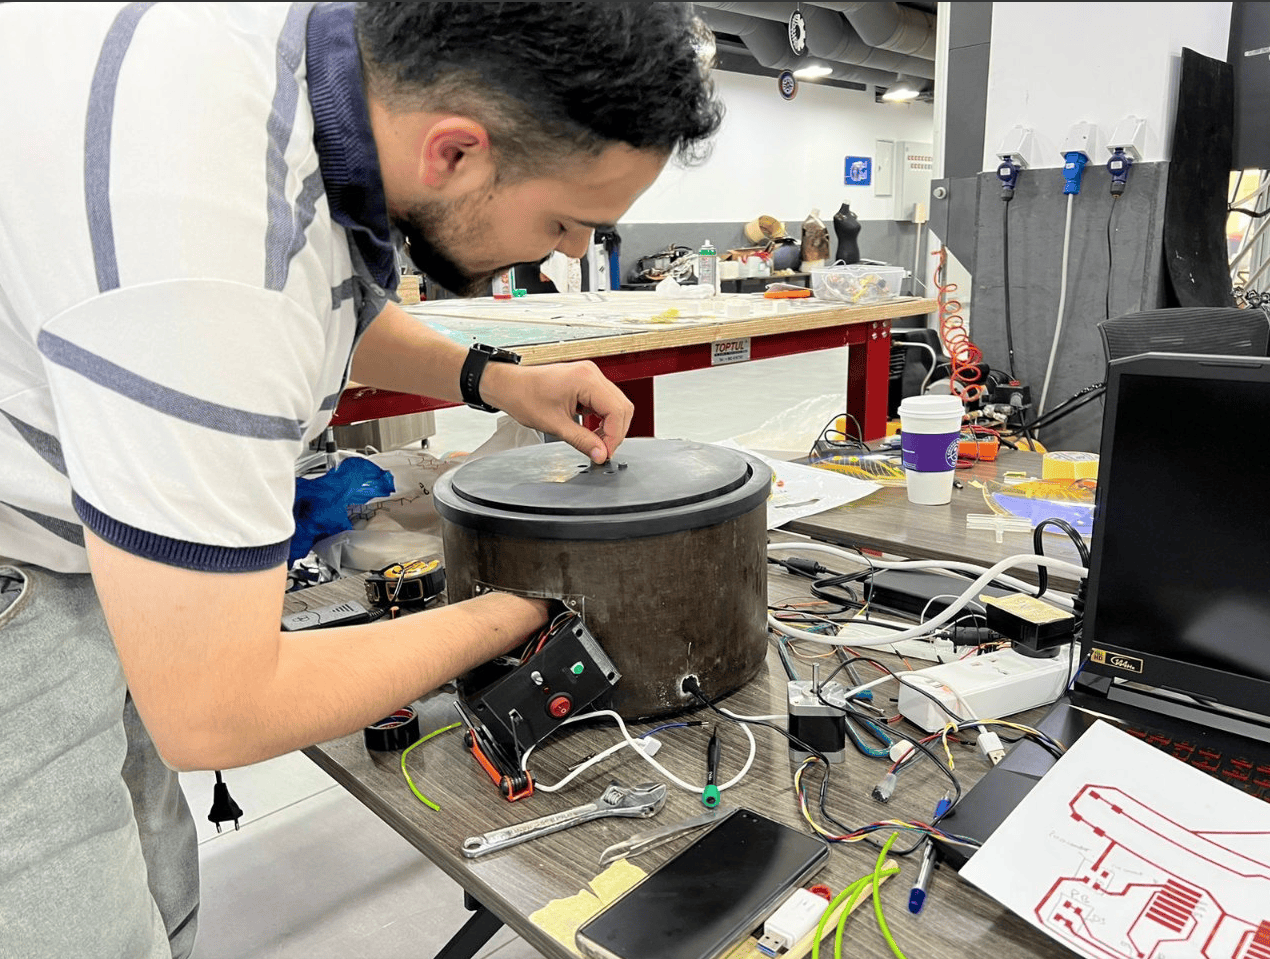
With the assembly complete, it was time for testing. I placed various objects of different sizes to assess the rotation mechanism, and to my delight, it worked flawlessly!
Bill of Material
BOM could be found In the Application and Implication Week.
License
DORAPAN by Mohammad Shuqwara is Licensed under a "Attribution-NonCommercial-ShareAlike (CC BY-NC-SA)"

Slide